Shooting Holly
Sep.21,2013 Filed in: Behind-the-Scenes
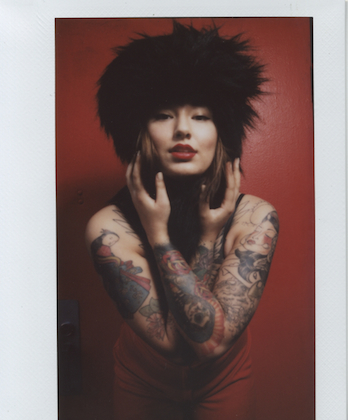
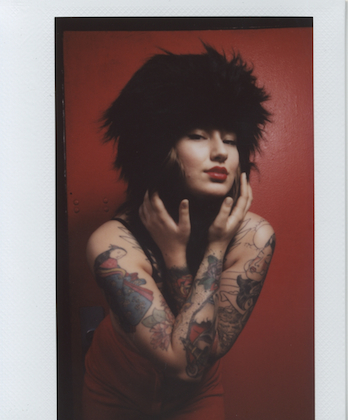
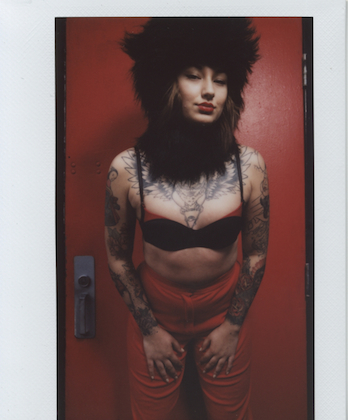
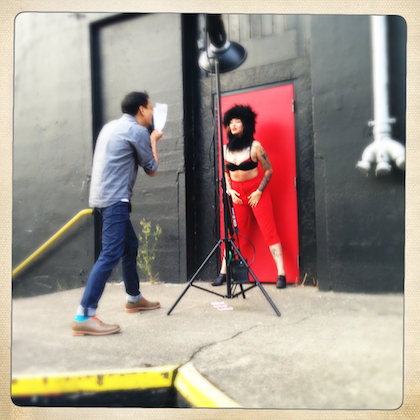
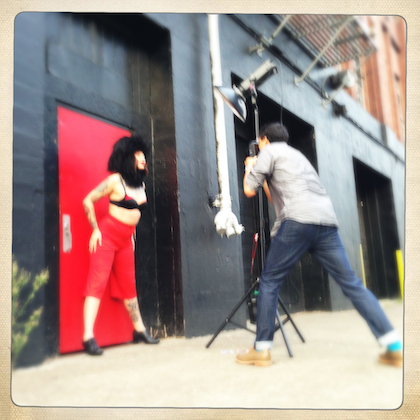
I recently purchased the Fuji Instax 210 Instant Film Camera and decided to give it a go on a test shoot. The camera fires the on-camera flash on every shot, and there is no PC port to connect an off camera trigger or strobe. So basically you just need to flag off the camera’s light so it doesn’t hit your subject, and at the same time direct that same camera flash to a strobe in slave mode. It is a little tricky and limiting but you do essencially get a single off camera light source for your picture. You see how I accomplished the triggering in one of the behind the scene setup shot. In my right hand is a white envelop that blocks the light hitting the model and at the same time reflects the light to the slaved Bowens strobe just to camera right. I kept the Bowens strobe about 4-5 feet away from my subject at the lowest power setting, this gave me generally what I needed all afternoon.
Thanks metakephoto.com for the behind the scenes photos.
Shooting Aveda Institute Seniors
Mar.19,2013 Filed in: Behind-the-Scenes
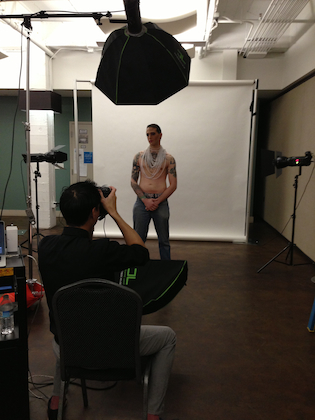
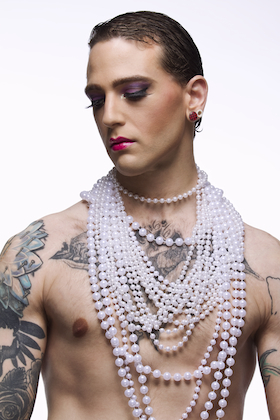
I had another great opportunity to shoot for Aveda Institute Portland. This shoot was for the graduating seniors and their senior day projects. Each student had to create and execute a concept then I got to photograph them. It was a long hard day working with several seniors and their models, they were all great to work with. I used my DIY modified 3 foot octabox for the key light front and center, and a 3 foot strip box below as shown in the setup shot above.
Shooting Popina Swimwear and Aveda Institute Dosha Salon
Mar.07,2013 Filed in: Behind-the-Scenes
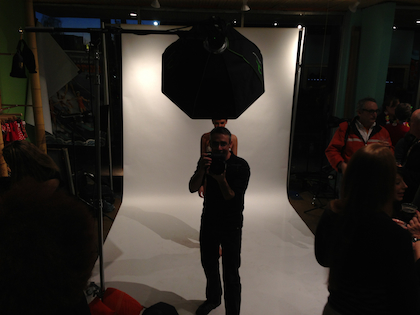
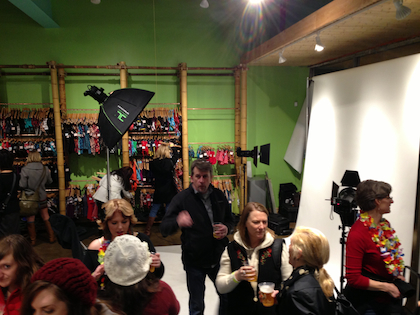
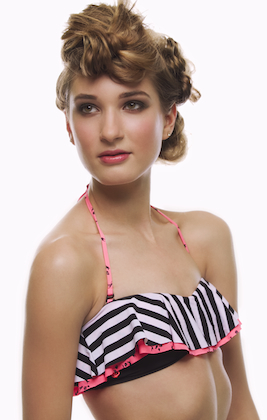
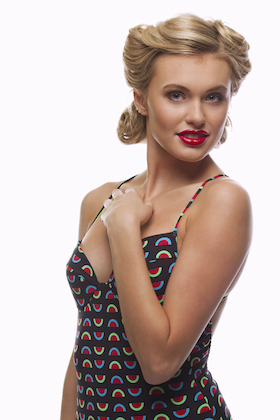
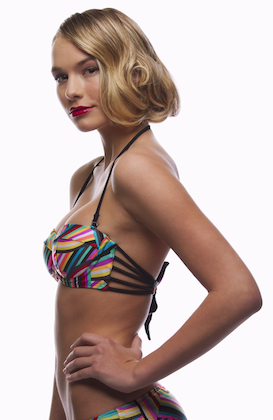
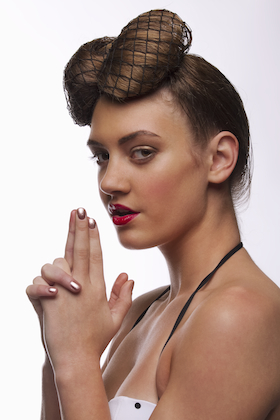
I had the opportunity to be the photographer at Popina Swimwear Grand Opening eastside store. Aveda Institute Portland/ Dosha Salon provided the styling and models. Boy was it a big party bash with a photo shoot, live surf band, food and drinks, and of course the largest swimwear store in Portland. As you can see I setup a white seamless background and blew it out with two Bowens heads. My key light was a single Bowens head with my modified 3 foot octabank placed front and center of the model. For more on the light modifier look at my Modify the Modifier blog post. I’m really digging this modifier because of the nice versatile coverage and the quality of light. The light is somewhat soft but has a kick to it since I removed all the panel diffusion in the softbox. I metered the background light at around f13 and my key light was around f8-f9. I had the model stand close enough to the background so there was spill to wrap around the model’s body for rim light.
The hardest part of the shoot was directing the models while the band was playing, it was pretty loud. I instructed the model’s before they stepped onto the set so they knew what I and Aveda Institutes’s Creative Director wanted. The rest was sign language and a lot of guessing. Lucky for me the models were experienced and could guess my crazy hand signals. Oh and not to mention the hundreds of patrons shopping, eating, drinking, and getting in the way of the photo shoot. It was insane. Above are some setup shots and a few final edits.
Shooting Kelvin
Jan.25,2013 Filed in: Behind-the-Scenes
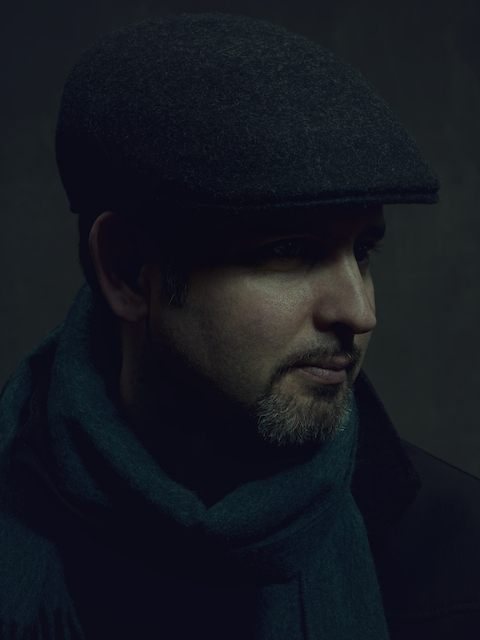
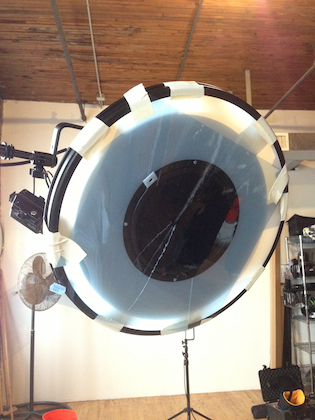
I was in the moody mood today, that is to shoot a moody scene. I seldom use very large soft light, my lighting setups are usually more restrictive or contrasty. But today I wanted to break out of the norm and try using a very large light source. My good photographer buddy Ben Mund has a crazy big softbox that is something like 4 feet by 6 feet or maybe even larger. I set the softbox up high overhead above the model. Then I added a second light with a 12 inch reflector that had a diffuser and tight grid on it. See the setup shots below for a better idea. The overhead softbox provided a nice fill light on the cap, ear, and neck area while I was still able to get my usual edgier light on the face. With the two lights combined I was able to create a moody scene with a huge soft light and my usual contrasty light source. My model is my good friend Kelvin who was just in the neigbourhood and volunteered to be my test subject.



Cleveland Photographic Society-Creative Portrait ShutterCraze Style!
Jan.17,2013 Filed in: Behind-the-Scenes
Being put on the spot and thinking outside the box. That’s what exactly happen on my return trip to the Cleveland Photographic Society January 2013. I returned to CPS as a guest speaker and educator, lecturing on my creative workflow and how I come up with personal work that I do. The premise was to “stump” the photographer and throw me all kinds of unknowns but for me to produce something that was creative and unique.
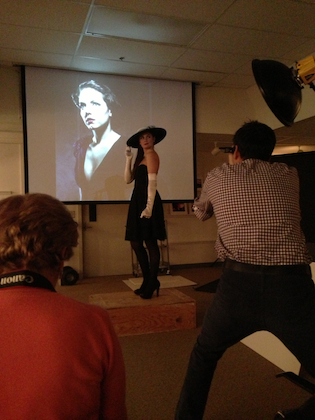
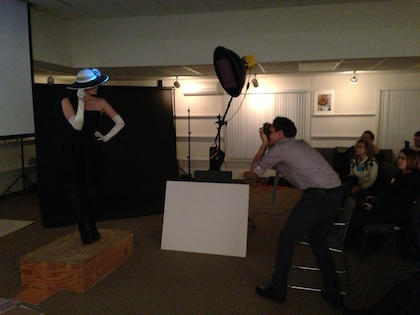
So the class provided me with a unique location, a model that I’ve never worked with before, wardrobe that I didn’t get to see or plan for, lighting equipment that I’ve never worked with before, grip equipment that I never worked with before, two back drops with seamless paper to work with, and so on. The idea was given what I was provided to me I had to go make something creative quickly right in front of the class. In a nutshell I had my concept of what I wanted to shoot in 5 minutes and then all my lighting gear dialed in and ready to shoot in another 10 minutes.
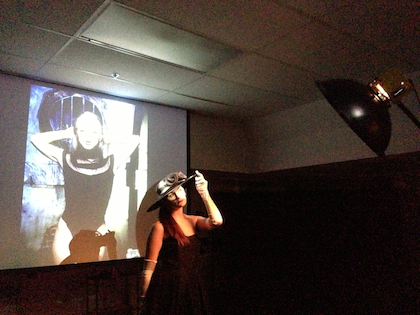
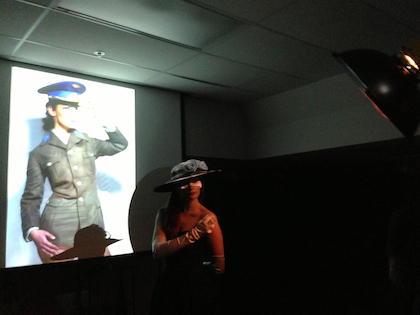
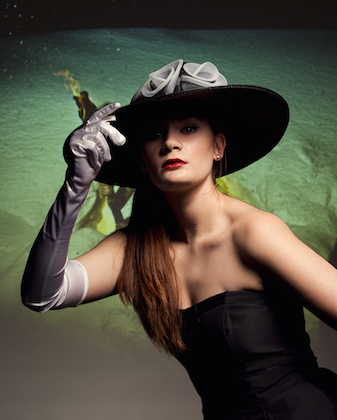
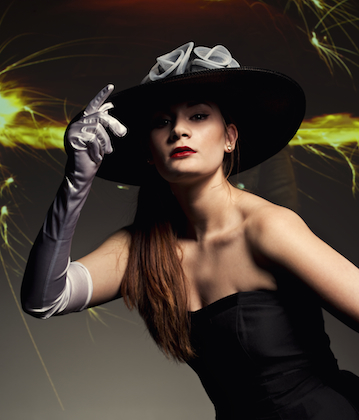
I choose to shoot a projection against the projection screen that I used for my lecture presentation on the overhead. I have never done this type of shot/concept before but I just had to try it. I brought up my portfolio in a slideshow with images changing every four seconds. I posed the model in front of the projection screen (about 6-8 feet) away in from the projection screen. I used a one Key light setup, beauty dish with grid and gelled. I dragged my exposure time so that I could get the projection screen exposed somewhat and then metered my model’s key light around f8. The class was interested with what I could pull off before I started, in the end they were shocked with what kind of imagery I pulled off with my limited amount of time and unfamiliarity with all the gear. I think I proved to the class that imagery was not about gear obsession but rather obsession to creative the unordinary.
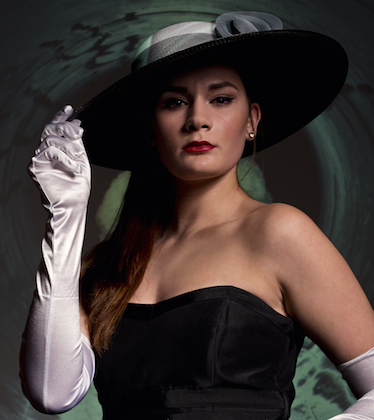
Below are some setup shots and a few resulting shots from the shoot. Although these are not my best work from that 15 minutes of chaos, I will revisit this concept and I’m sure I can dail it in to create something awesome.


